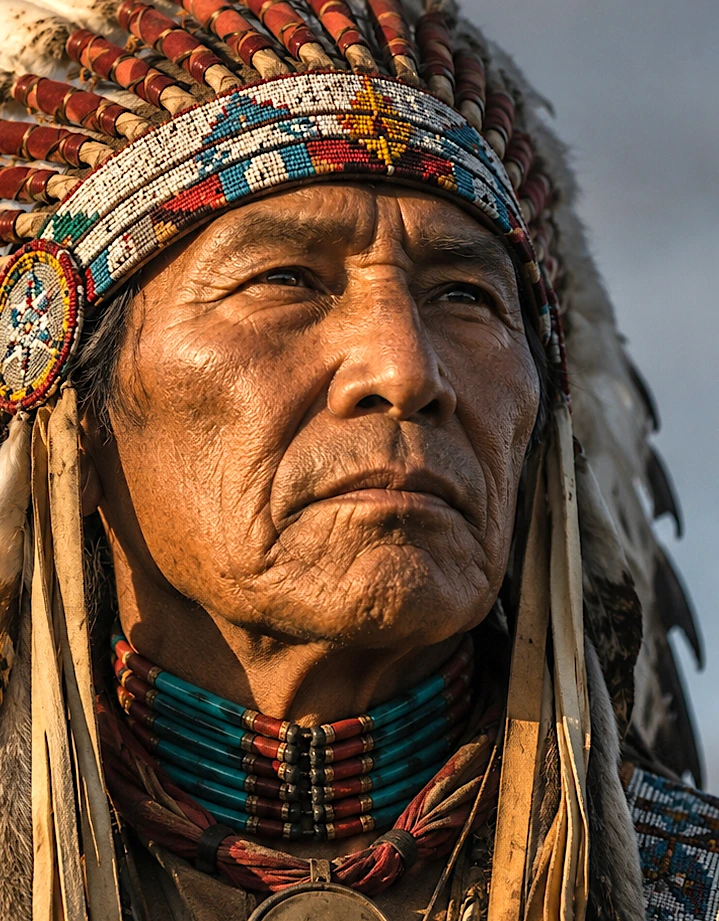
Floyd-Steinberg
Balanced contrast and detail. A reliable first choice for most photographs and materials.
Upload an image or photo and turn it into a laser-ready black-and-white PNG or 1-bit BMP. Set the real engraving size, choose DPI, adjust brightness, contrast, gamma and sharpness, preview common materials and export for LightBurn, XCS, LaserGRBL or EZCAD. Free to use. Your image is processed locally in your browser and is not uploaded to our server.
All four previews use the same crop, tonal adjustments and Photo Type. Use the button below a preview to apply that method to the main laser-ready output.
Balanced contrast and detail. A reliable first choice for most photographs and materials.
A lighter, softer pattern that can keep skin tones and heat-sensitive materials cleaner.
Smooth tonal transitions with a denser pattern. Useful when the material can hold fine dots.
A regular, visible dot pattern. Best for graphic looks, raster logos and predictable repetition.
Start with Floyd-Steinberg. Try Atkinson when skin or highlights look too dark. Use Normal Photo on light materials and Negative on dark surfaces.
Start with Ordered / Bayer for a regular raster pattern. For clean outlines and solid shapes, a vector logo in your laser software is usually better than dithering.
Start with 254 DPI and Floyd-Steinberg. Try Atkinson if dots spread or shadows burn together. Keep dark areas open and test on the same wood.
Start with Negative, 254–300 DPI and Floyd-Steinberg. Try Jarvis for smoother tones if the slate keeps fine light marks.
For dark anodized or coated metal, start with Negative and Floyd-Steinberg or Jarvis. Use 300–508 DPI only when the laser spot and coating can reproduce it. Bare stainless steel, marking spray and fiber marking require separate tests.
PhotoEngraving.online is a free image to laser engraving converter that runs directly in your browser. Upload a photo or image, convert it to a laser-ready black-and-white PNG or 1-bit BMP, choose photo type and DPI, preview common materials and download the result for LightBurn, XCS, LaserGRBL, EZCAD and similar laser software.
PhotoEngraving.online is a free browser-based image to laser engraving converter. It converts photos into laser-ready black-and-white PNG or 1-bit BMP files with DPI metadata for LightBurn, XCS, LaserGRBL, EZCAD and similar laser software.
This tool is made for makers, laser engraving users and small workshops that need to prepare photos for engraving on wood, plywood, slate, anodized aluminum, stainless steel, leather and other materials before importing the file into laser software.
Export PNG for most workflows, or 1-bit BMP when you need a strict black-and-white bitmap. Both exports include DPI metadata so the physical size is easier to keep consistent in laser software.
PhotoEngraving.online was created for users who need a simple way to prepare photos for laser engraving without installing desktop software. The editor runs locally in the browser, supports real size in millimeters, custom DPI, dithering, material preview and exports ready for common laser engraving programs. Last updated: July 2026.
Photo Engraving Online prepares a normal photo for laser engraving by controlling crop, tones, dithering, output size and DPI. The result is a black-and-white PNG or BMP you can import into LightBurn, XCS, LaserGRBL, EZCAD and similar laser software.
| DPI | Best for | Engraving speed |
|---|---|---|
| 254 DPI ✓ | Soft wood, soft plywood, MDF, slate, stone | fast |
| 300 DPI | Wood, plywood, slate, HDF, plastic | medium |
| 508 DPI | Acrylic, laminates, coated metals, anodized aluminum, stainless steel | slow |
Click Upload photo and choose a JPG, PNG, BMP or WebP file. For best results, start with a sharp photo, clear lighting and visible detail in the subject.
Start with Normal Photo, Negative, Dark Photo or Light Photo. Then choose the dithering pattern: Floyd-Steinberg is a balanced default, Atkinson is softer, Jarvis keeps smoother tones, and Ordered/Bayer is useful for graphic, regular-dot looks.
Adjust brightness, contrast, gamma and sharpness while comparing the original with the output. Then use Material Preview to get a rough idea of how the file may behave on wood, slate, dark surfaces, stainless steel or leather.
Enter the real engraving width in millimeters, choose 254, 300, 508 or Custom DPI, and watch the pixel count update. If the preview looks right, download PNG or 1-bit BMP with DPI metadata and import it into your laser software.
The output size in mm should exactly match the real physical size of the engraving area on your material.
Example: If you want to engrave a portrait on a wooden plate with a width of 80 mm, set the width to 80 mm and choose 254 DPI. The tool will create an image about 800 px wide. Changing DPI keeps the same physical size but recalculates the pixel count, and the advanced pixel-width control can fine-tune the final raster when your laser software needs an exact pixel size.
ℹ️ Formula: width in px = (width in mm ÷ 25.4) × DPI